
How To Transport A Wedding Cake To The Venue
This post will run through tips and tricks on how to safely transport a wedding cake to the venue.
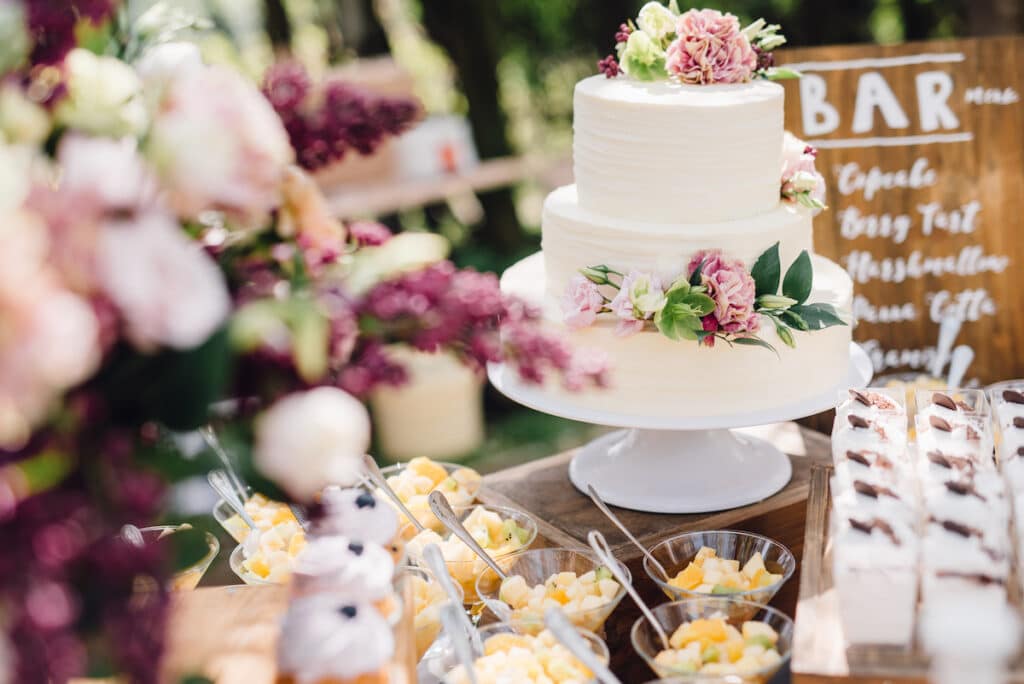
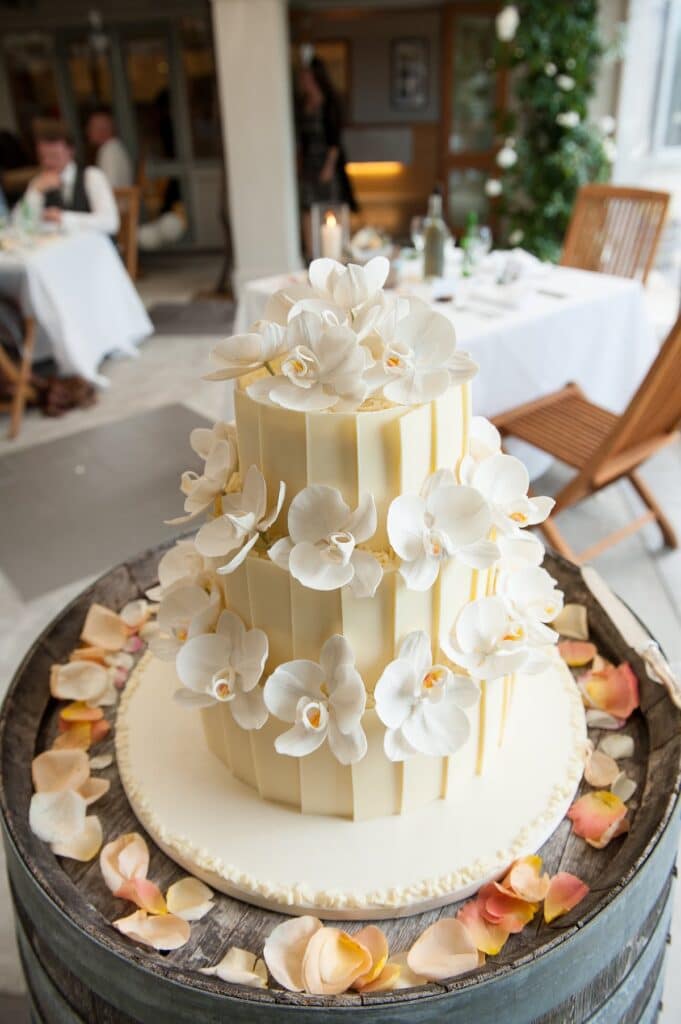
The wedding cake is a central part of the wedding day. A beautiful and delicious tradition, the wedding cake is usually first cut by the newlyweds and then later on enjoyed by guests. A traditional wedding cake was a fruit cake, covered in fondant which is nice and sturdy, especially when stacked in tiers.
These days, wedding cakes come in all sorts of flavors are styles, some being much more delicate than others.
No matter what cake is chosen, every bride and groom will want it delivered safely and in pristine condition to their wedding venue. If a cake is traveling a long distance there are a few key things to do to ensure there is no unnecessary wedding cake delivery stress.
Jump to
- The frostings and fillings
- The cake tiers
- Cake boards and dowels
- The cake boxes
- Venue
- Transport
- Cake repair supplies
The frostings and fillings
When traveling a long time with a cake, and especially in hot weather, use frosting that won’t melt and seep, and avoid soft fillings like pastry cream.
Buttercream cakes aren’t as stable on a hot day as one covered in fondant. If you are decorating with buttercream, choose one with egg whites like an Italian or Swiss meringue buttercream. They have more a bit stability than American buttercream. However, they will still become soft at 25°C/77°F and start melting at temperatures higher than that.
You can use shortening along with the butter too, to give it even more stability as shortening can hold up to heat more.
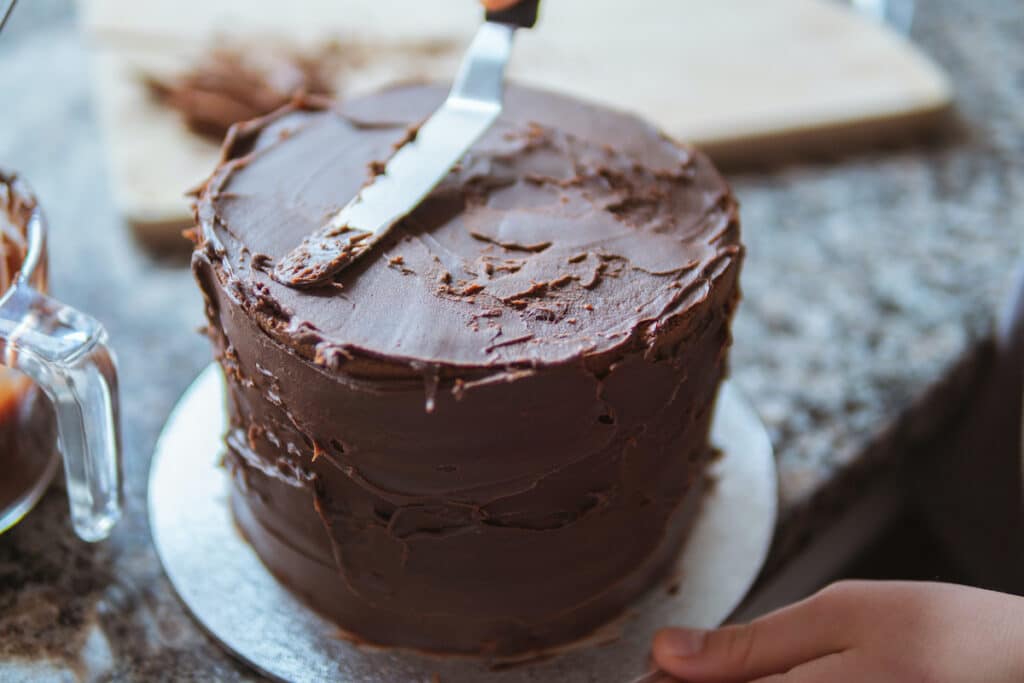
A dark chocolate ganache frosting can stand the heat a bit better than buttercream, but it will soften at temperatures above 29°C/85°F.
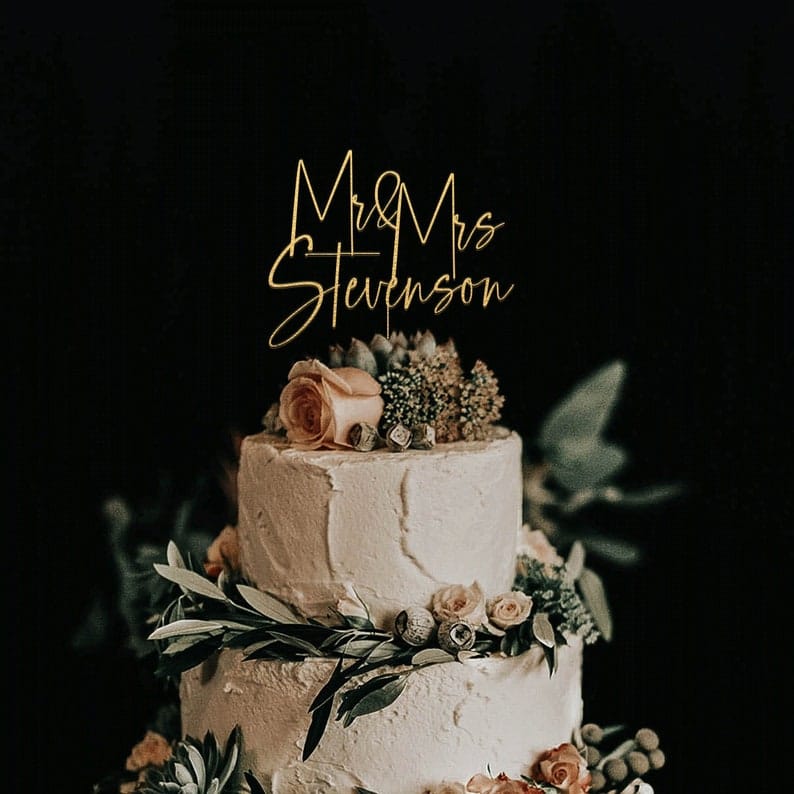
Wait till you get to the venue for the finishing touches, like the cake topper. If you’re decorating the cake with fresh fruits or fresh flowers, they are best added on at the venue too.
The cake tiers
The first thing to decide when thinking about how to transport a wedding cake is the design and size of the cake. How many tiers will it have? The tiers are what make the cake the hardest to move. It helps to use supports in the cake to keep it sturdy.
If there are many tiers, it is best to box them up in sections and put the cake together at the venue. However, sometimes the cake will need to be pre-assembled. If you are delivering the cake whole then cake supports and cake dowels are absolutely crucial.
Cakes with 2-3 tiers
Smaller cakes can be packaged pre-assembled since they’re not too big. Use dowels and cake boards through the middle of the tiers to keep it sturdy. A stacked cake is going to weigh a lot, no matter how light and fluffy your actual cake base is. The dowels help to hold some of this weight.
Cakes with 4-6 tiers or more
Larger wedding cakes are best transported in sections with separate tiers. When cakes get really tall, some of the layers can be made of styrofoam covered with fondant or frosting. These ‘fake’ layers looked like a real cake, and are stacked on top of the bottom real layers of cake.
This makes it much easier to transport a tall and extravagant cake in perfect condition. The top tier is most commonly foam. It’s sometimes saved by the couple as a memento of the day. This only works if it has been covered in fondant, not buttercream or ganache frosting.
Why do traditional wedding cakes have three tiers?
The reason behind the traditional three-tier cake is quite sweet. It is thought that they are made that way as the large bottom tier is to be shared out at the wedding, the smaller middle tier is to share with those who couldn’t make it after the event and the top tier is saved for the couple.
The cake boards and dowels
To balance the bottom tier, use a sturdy base, like a wooden cake board. Use one that doesn’t bend with the weight of the whole cake.
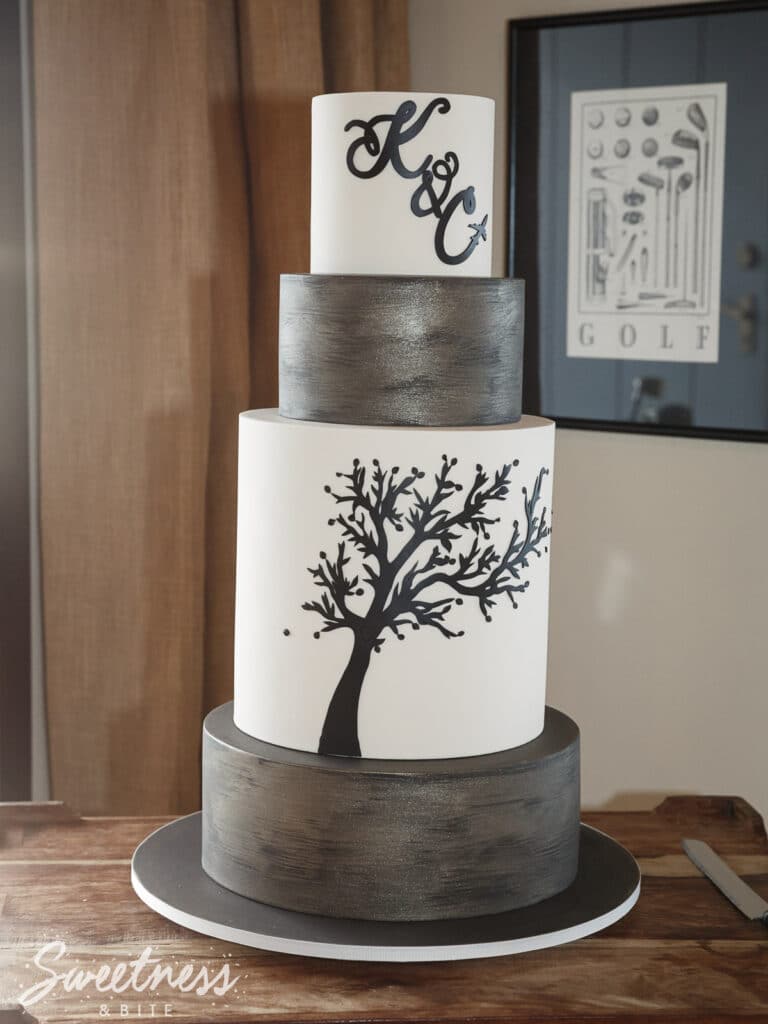
Cake maker Natalie, from the blog Sweetness and Bite, suggests sticking little feet to the bottom of your cake board. This will make it much easier to get your fingers under the board in order to lift the cake. You can use felt pad stickers for this.
Between each layer of cake, there should also be a cake board, that is supported by dowels. These middle boards can be thick cardboard. These interior cake boards and dowels act like little tables that hold the weight of the cake layers. This removes all the stress from the cakes themselves.
There are many dowels available. Check how many tiers can be supported by the dowels you choose. If you’re buying them from a cake supplier, they will have this stated on their packaging.
The dowels
Food-safe bamboo wooden dowels are a great choice. They are solid and not too thick. You will need something to cut them to size like a small hand saw. Poly dowels are plastic, and also a good option.
The first dowels will be pushed through the bottom layer of the cake on a level surface, spaced in the middle in a circle, 2 inches apart. How many you need will be dependent on the size of the cake. On top of this, a cake board is placed, creating ‘the table’ that the next tier of cake will balance on. Then the process is repeated with the remaining cakes.
It’s important that your cake is even with a flat surface to ensure none of the sides collapses.
The cakes should be stuck down to the cake boards so they don’t slide. Use edible glue such as royal icing to stick them with. Royal icing will keep the cakes stuck even if temperatures increase. If you use buttercream or ganache, it may melt and slide.
For very tall cakes and large cakes, a thick center dowel can also be placed that goes right through the center of all the cake layers and boards.
The cake boxes
The cakes should be transported in sturdy cardboard boxes or plastic carriers that are snug so that the cake board can’t slide around and hit the sides of the box. Cake supply stores will sell cardboard cake caddies that can hold 2-3 tier cakes. This is another reason why it’s best to assemble cakes that are any taller than that at the venue – it’s hard to find a box tall enough. Place a nonslip mat at the bottom of the box for the cake board to rest on.
The box needs to be made of thick cardboard that doesn’t bend and flex too much. It doesn’t need to be a special cake box, a sturdy moving box will make a good cake carrier too. Cut down the side of one side of the box to create a flap that can work as a doorway to easily slide the cake in. Ensure to lift the box from the bottom of the box, not any handles the box may have.
Once at the venue, you can cut down the box around the cake to avoid having to slide the cake out of the box again and risk the cake hitting the side of the box.
The venue
Before leaving for the venue, find out a little about it first. Where should the cake be dropped off? Does the venue have air conditioning?
If you are delivering it way before the ceremony, check that there will be people at the venue to greet you. You don’t want to turn up too early and be hanging around!
The transport
If you’re transporting the cake in the car, make sure it has working air conditioning, especially if it is a long drive ahead.
The cake boxes need to be placed on a level surface. This can be the floor of the car, or the back of the car if the seats can go down completely flat. Lay down towels or a nonslip mat at the bottom of the car to stop the cake boxes from sliding. Check that the air conditioner can reach the back of the car too.
Drive carefully and avoid going quickly over speed bumps, making sudden stops, or taking sharp turns. Once at the venue, check where you will put the cake before unpacking it from the car. You don’t want to be walking around with the cake more than you absolutely need to!
Once at the reception venue, make sure the cake table is out of direct sunlight and ideally has air conditioning to keep it cool.
If you’re a vendor, take a snap of the cake once it has been set up and safely delivered. This is just in case something goes wrong once you have left, that you can show it was delivered.
Cake repair supplies
Take with you the supplies you will need to perform any touch-ups and fixes that might be required, as well as the supplies for the finishing touches.
Take with you –
- Extra frosting
- Cake tools such as your levels, fondant smoother, offset spatula…
- gum paste flowers and spare delicate decorations
- cake toppers and decorative figures
- fresh edible flowers to cover any imperfections
- Any other tools you think you may need.
All in all, use your common sense when traveling with such a precious commodity!
Have you got any more tips? Leave them below!